QuickStart
Your first destruction in three steps. Target time: under two minutes.
Prerequisites
The GameObject you want to break must have a MeshFilter and a MeshRenderer.
Step 1 — Add the Breaker
Select the object → Add Component → Breaker.
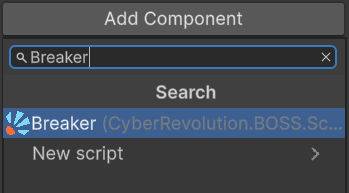
The inspector shows the Explosion, Shard Lifetime and Events sections, a Broken Source field (empty for now), and a single button — Bake destruction. (The Clear destruction button appears next to it after the first bake.)
Step 2 — Bake the destruction
Click Bake destruction. A dialog opens.
For your first test, keep the defaults and just:
- Make sure
To game objectis selected (fastest, no asset files created). - Leave
iterationsaround10(≈ 10 cuts → ≈ 11 shards). - Click the green ✓ to confirm.
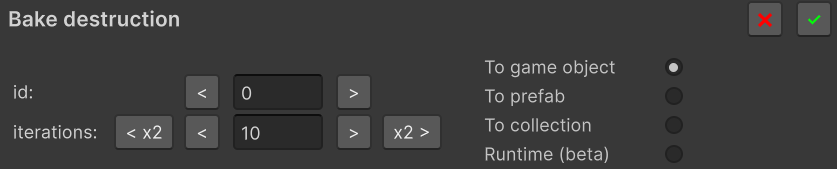
Back in the inspector, Broken Source is now filled, and the Bake destruction button is replaced with Clear destruction (in case you want to start over).
The original mesh is still visible — the broken version is hidden until Break() is called.
Step 3 — Trigger the break
Pick one of two paths.
No-code: break on mouse click
Add a Collider to the object (any kind — BoxCollider is fine), then add the BreakByClick component and assign your Breaker to its Breakers array.
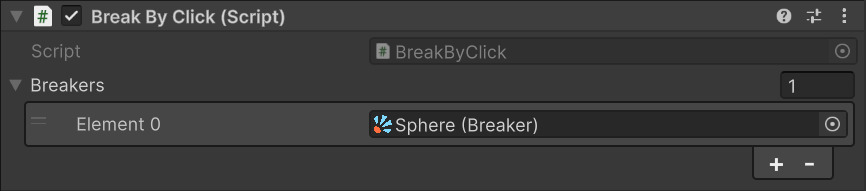
Enter Play mode and click the object — it breaks.
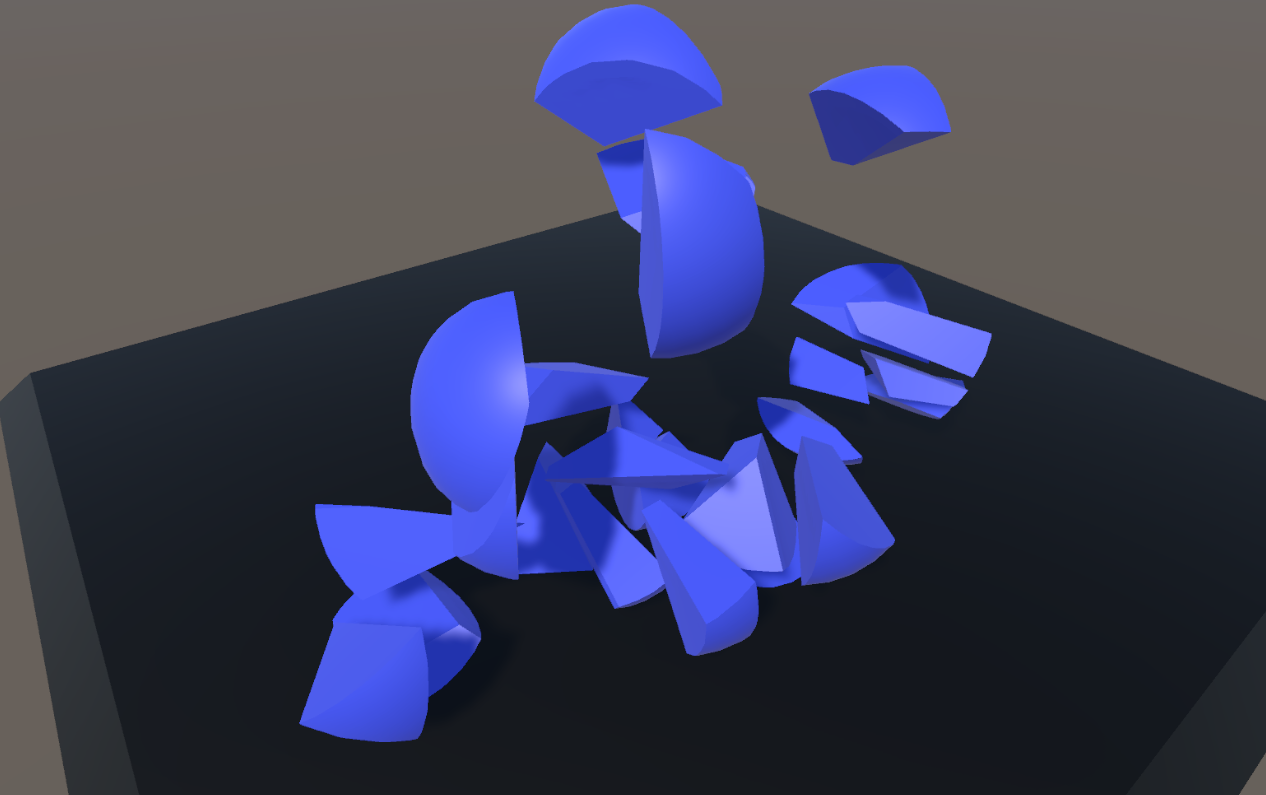
From code: break on demand
Add this script and assign your Breaker to its field:
using CyberRevolution.BOSS.Scripts.Breakable;
using UnityEngine;

public class BreakOnSpace : MonoBehaviour
{
    [SerializeField] private Breaker _breaker;

    private void Update()
    {
        if (Input.GetKeyDown(KeyCode.Space)) _breaker.Break();
    }
}

Press Space in Play mode.
Next steps
- See Scenarios for richer setups: collision triggers, multiple variations, nested breakers, runtime fracturing.
- Tune the look and feel in Inspector Reference (explosion strength, shard lifetime, slice surface material).
- Decide which bake mode fits your project in Bake Modes —
To game objectis great for prototyping but not for production with multiple instances.