Scenarios
Eight minimal recipes covering the common cases. Each one is a 1-minute setup. Open Inspector Reference for the meaning of any field mentioned here.
1. Break a window on mouse click
Goal: click the window in Play mode, it shatters.
Setup:
- Add Breaker to the window.
- Bake destruction → To game object (or Prefab) → ✓.
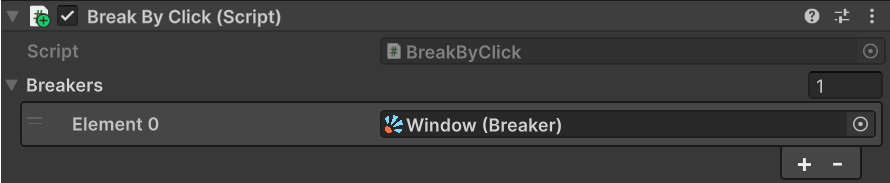
- Add BreakByClick to the same object.
- Make sure the object has a Collider.
- Assign the Breaker to the Breakers array on BreakByClick.
Result: click in Play mode → the window breaks, shards fly, original mesh disappears.
2. Break a crate on bullet impact
Goal: shoot the crate in Play mode, it shatters.
Setup:
- Add Breaker to the crate and bake.
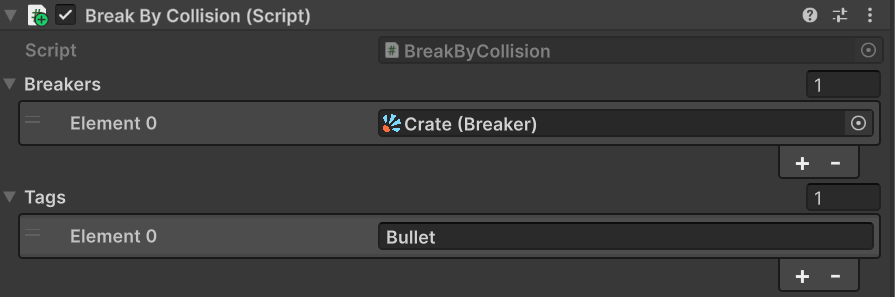
- Add BreakByCollision to the crate. Assign the Breaker to its Breakers array.
- In Tags, add the string Bullet. Leave empty to react to any collision.
- The crate needs a Collider. The bullet needs a Collider + Rigidbody.
Result: when something tagged Bullet collides with the crate, the contact point is used as the explosion origin and the crate breaks.
3. Break from code and spawn loot on impact
Goal: trigger the break from your code and run game logic (loot, VFX, audio) in sync with it.
Setup:
-
Add
Breakerto the crate and bake. -
Call
Break()whenever you want the crate to shatter:
[SerializeField] private Breaker _crate;

public void OnEnemyKilled() => _crate.Break();
-
Hook your loot spawner onto
Break Started— it fires the momentBreak()succeeds. Either path works: -
In code:
_crate.BreakStarted.AddListener(SpawnLoot); - In the inspector: expand
Eventson the Breaker, click+underBreak Started, drag in the GameObject that owns yourSpawnLoot()method, and pick it from the dropdown.
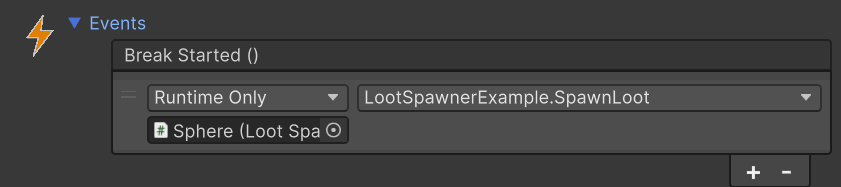
Result: _crate.Break() shatters the crate and runs SpawnLoot() in sync.
Break Started is the right hook for anything that should happen at the moment of the break. If you need something to wait until the destruction has visually finished — respawning the crate, opening a gate, a cinematic cue — use Shard Lifetime Ended instead. It doesn't fire when Shard Lifetime is disabled.
4. Reuse the same destruction across many identical objects
Goal: bake once, drop on every crate instance, save asset size and bake time.
Setup: two paths, pick the one that fits.
A. Use a prefab.
- Bake the prototype → To prefab.
- Turn the original prototype object into a Unity Prefab.
- Every instance of that prefab already shares the same Broken Source field — done.
B. Share the BrokenSource manually.
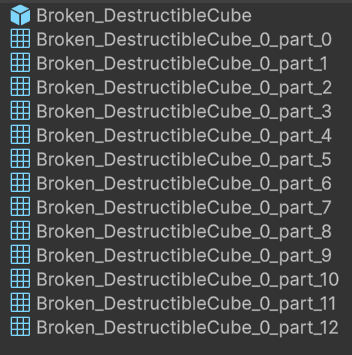
- Bake one prototype → To prefab or To collection. This produces a BrokenSource* asset.
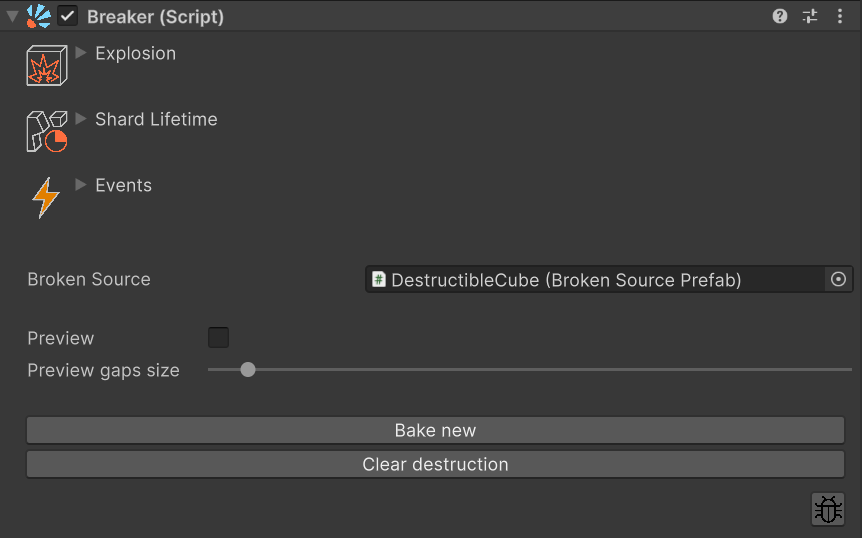
- On every other GameObject that should reuse the destruction, add a Breaker and drag that same source asset into the Broken Source field.
- No re-bake needed. All instances point to the same shards.

The same BrokenSource asset dropped into the Broken Source field of two independent Breakers — one bake, many instances.
Result: one set of baked shards, used by N objects in the scene. Smaller project, faster import.
5. Several destruction variations for the same object
Goal: the same crate should break differently each time it is destroyed.
Setup:
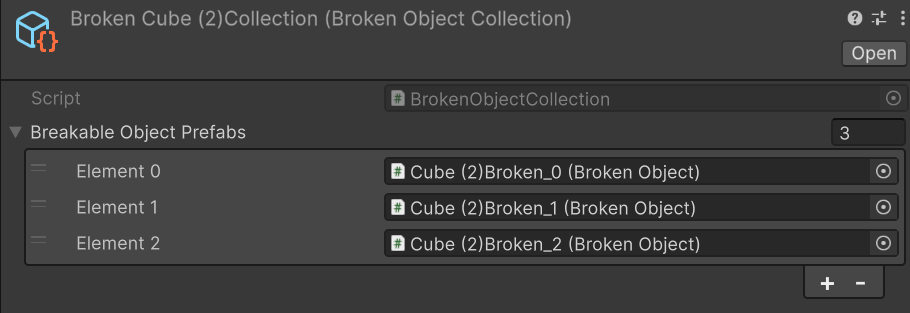
- Bake → To collection. Set iterations and use the < / > buttons next to id to flip through seeds and bake the variations you like into the collection asset.
- Assign the resulting BrokenSourceCollection to the Breaker (the bake flow does this for you).
- Optional: on the same GameObject as the Breaker, enable Use pools on the BrokenSourceCollection component for high-volume scenes — see G. Source components in the Inspector Reference for what it does.
Result: every Break() picks one of the baked variations at random. Players see fresh shard layouts instead of the same shape every time.
6. Window with several panes (nested breakers)
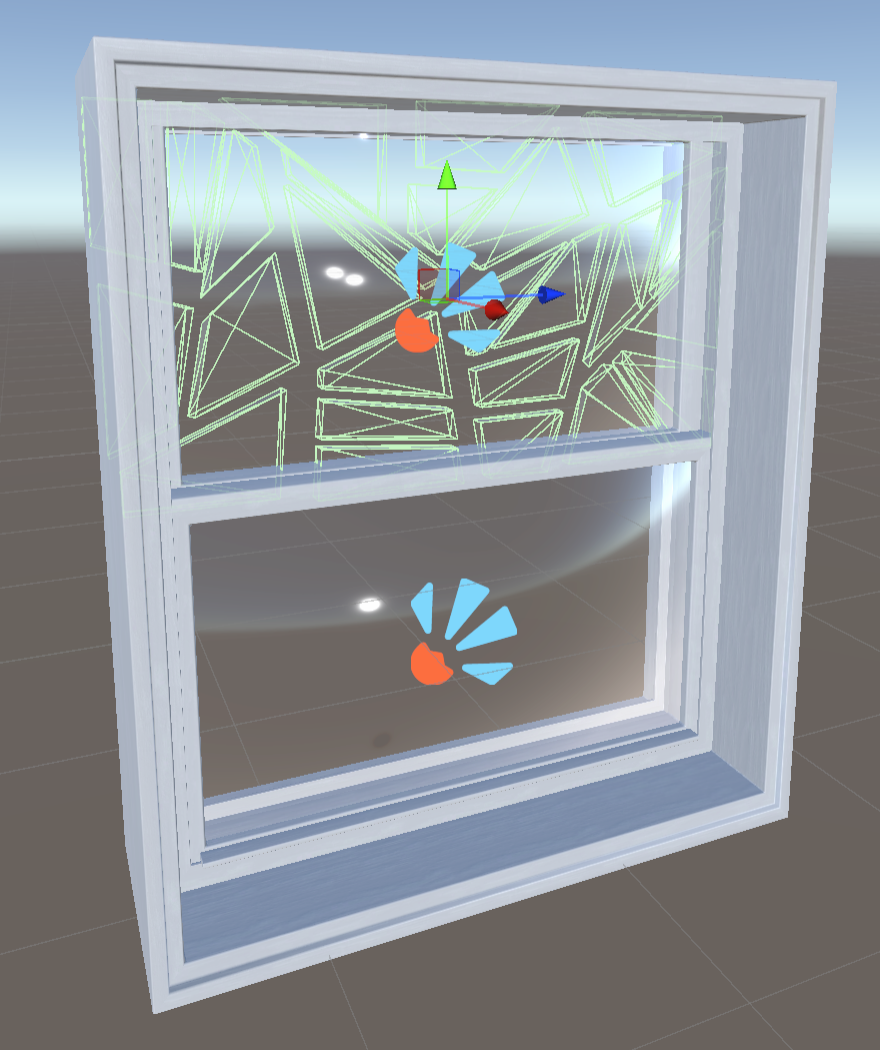
Goal: a window frame and each glass inside it can break independently, with their own visuals and physics.
Setup:
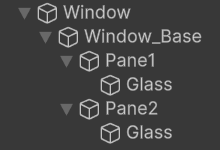
Window                  (Breaker + frame mesh — top, owns every frame mesh below)
└── Window_Base         (frame mesh)
    ├── Pane1           (frame mesh — top sub-frame)
    │   └── Glass       (Breaker — top glass)
    └── Pane2           (frame mesh — bottom sub-frame)
        └── Glass       (Breaker — bottom glass)
- The frame is assembled from four nested parts —
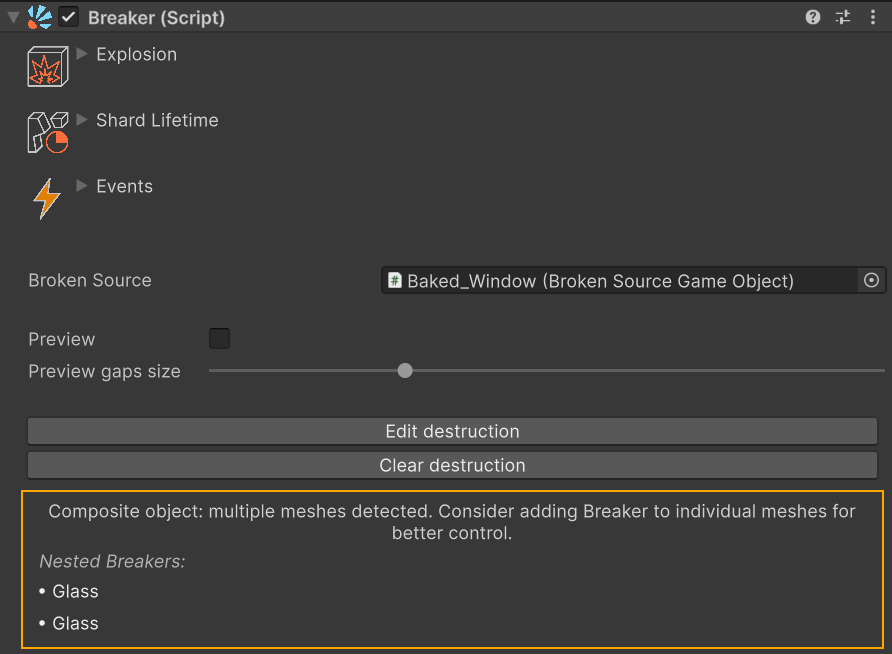
Window,Window_Base,Pane1,Pane2— each carrying its own piece of frame mesh. Breakers live only on the two leafGlassGameObjects, not on the frames; the frames stay intact through a glass break. - A parent Breaker only owns meshes above the next nested Breaker. Since the only nested Breakers are on the
Glassleaves, the topWindowBreaker owns every frame mesh (its own plusWindow_Base,Pane1,Pane2), and eachGlassBreaker owns its single glass mesh. - Bake every Breaker individually.
- Each
GlassBreaker has its own Explosion / Shard Lifetime / Events settings, independent of the other glass and of the frame Breaker.
Result: Break() on Window → the whole frame and both glasses shatter together. Break() on a single Glass → only that glass shatters; the frame and the other glass stay intact.
The Window's inspector shows an orange banner listing the immediate nested breakers — click a name to ping it in the hierarchy.
7. Runtime destruction for procedurally generated objects
Goal: the mesh is created at runtime, so it cannot be baked in the editor.
Setup: the object doesn't exist at edit time, so you can't open the Bake dialog on it. Configure Runtime mode from code instead, right after your generator produces the GameObject:
var breaker = generated.AddComponent<Breaker>();
breaker.Mode = BreakerMode.Runtime;
breaker.Runtime.IterationsMin = 5;
breaker.Runtime.IterationsMax = 10;
Alternative: prepare an empty placeholder prefab in the editor, attach Breaker, open Bake destruction → Runtime (beta) → ✓ once. At runtime, instantiate the prefab and assign your generated mesh to its MeshFilter — Runtime settings are already in place.
Result: each Break() slices the current mesh live. No prefab, no BrokenSource — the Breaker is IsConfigured purely because Runtime mode is active.
Notes: runtime fracturing has a per-call cost. For mobile, VR, or many simultaneous breaks, prefer a baked mode. See the Bake Modes guide for the trade-offs.
8. Quick break sound and particle burst without code
Goal: add a one-shot break sound and/or a particle burst to a breaker in under a minute, without writing a subscriber. Useful when you just want "stuff plays when it breaks" and not a full audio system.
Setup:
- Under the breaker, add a child GameObject — call it
BreakEffect(or anything). It just needs to live somewhere other than on the Breaker GameObject itself, otherwise the breaker'sSetActive(false)will cut the effect off; a direct child is the canonical and tidiest place. - On that child, add any combination of
AudioSourceandParticleSystemyou want — one of each, several, mix and match. For eachAudioSourceleavePlay On Awakeoff andLoopoff. - On the same child, add the
BreakEffectcomponent. Drag yourAudioSources into itsAudio Sourcesarray and yourParticleSystems intoParticle Systems. - On the Breaker, expand
Events, click+underBreak Started, drag in the child GameObject, and pickBreakEffect.Play()from the dropdown.
Result: when the breaker breaks, the sound and particles play out in full — even though the Breaker itself disables or is destroyed at that moment. The helper reparents itself to survive the break and cleans itself up once playback finishes. To re-break later (a respawn, a Reset button), keep the breaker as a prefab and re-instantiate it — the helper child rides along.
If you need mixer routing, layered audio, cross-fades, custom pooling or any other fine control, skip the helper and subscribe to Break Started from your own script (see scenario 3. Break from code and spawn loot on impact for the wiring pattern).